Hard landscaping your outdoor living space with a patio or driveway can add considerable value to your home. On average it is estimated that this value can be as high as 20%. With a little planning and thought, this can be achieved for you too. Keep it simple and easy to use for all the family, as this works better for people than over complicated designs that maybe hard to maintain.
The first thing that you want to consider when laying a patio and this can be the same for a driveway or any other hard landscaping project, is that it is important to plan out the work, and how you would like it to look when finished and the steps involved in the construction of the patio.
STEP 1
Measure out the width and length of the surface area where you would like your patio to be placed.
Before doing any digging, it is important to know the landscape surface as you need to know where any utility lines are placed i.e. electricity, gas and phone or water. If you are not sure of this for utmost safety, it is important to call your local utility company and request a call out to mark out the utility lines and make it easy for you to know where not to dig. There may be a cost for this or not, it is usually provided at no charge, but double check on this matter.
Stake and Paint
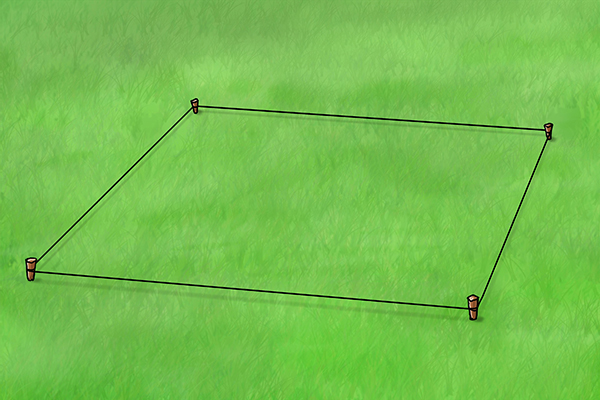
If digging by hand, use string and stakes at the corners of the patio and connect with string between stakes. This will provide you with a general layout and then use Builder / Landscaper spray paint to mark the area directly on the ground.
STEP 2
Determine the Height of Patio
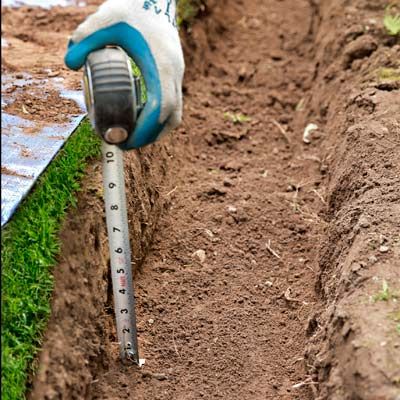
It is important to know the finished patio height. Keep it just above the surrounding ground so that rainwater will not stand on the surface and measure your paving stone in regards the thickness of the paving. Once you have that determined, it is important to leave 6-7” for your sand and gravel foundation.
With all good paving works and the longevity of them, it is important to have a good base and make sure the foundation is a well packed down base for your pavers to lie on. What will ultimately determine the base, will be the type of soil that is being used to place the pavers on i.e. wet soils bases will require a thicker base than a well-drained more solid base.
STEP 3
Excavate
Makes sure the patio is gradually sloped away from your house, this will allow you to avoid any drainage problems and also that it is 150mm below the damp course of your house.
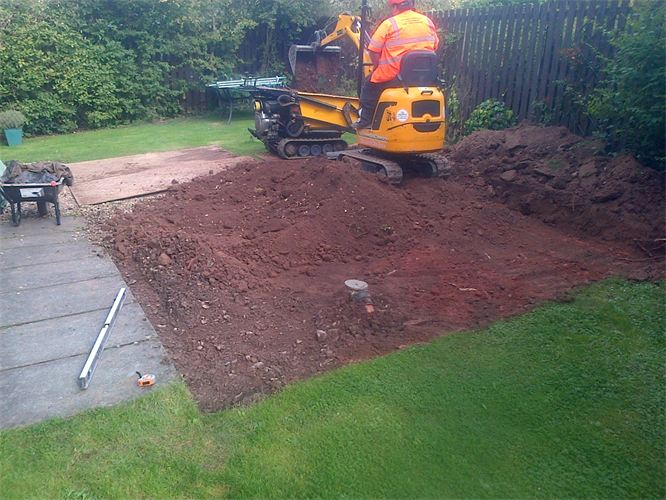
Once all the preliminary precautions have been taken, the required patio area can be excavated and then firmly pack the desired area to the required height, thus making sure it is level and the slope is in place.
If you are buying the paving slabs yourself instead of through a paving contractor, it is important to know the type of paving slab you are looking for and the number of pavers you require in order to calculate the cost to complete the job.
STEP 4
Protect from Weeds & Lay Gravel Base
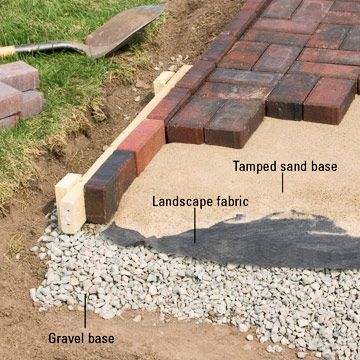
You have taken the time to construct a patio, the last thing you want happening is for it to be invaded by weeds. Use commercial grade weed suppressing fabric to prevent this. There are various reasons for this: Primarily the main reason for this is to keep the weeds from growing up through the pavers, to prevent the pavers from sagging and uneven and it also helps to reinforce the area beneath the pavers by allowing water to move through the pavers and into the soil.
Roll it out over the paving area and secure it in place with landscape spikes, approx. 8” in size. Roll it past the dig line to make sure you do not run out of fabric. Once you are sure of the size and have the paving put in place, the excess material can then be cut off.
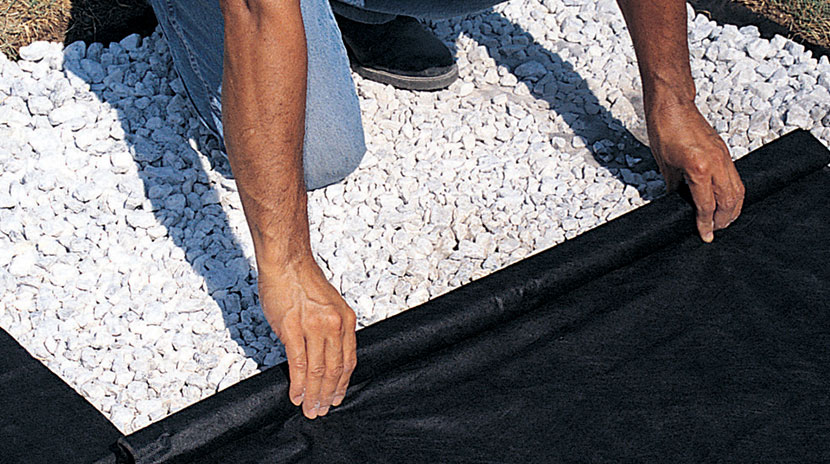
The next step is to layer the area to be paved with 4” of crushed gravel. Make sure it is levelled off and the patio slope is kept consistent.
STEP 5
Lay Down Sand Base
This is the stage to sign off and mark the patio area and lay it in a bed of sand. If it is a small area that is being worked on use a hand tamper, but if it is a large area, it is best to use a power tamper. This will power itself forward through vibration up and down the patio gravel area before laying the sand.
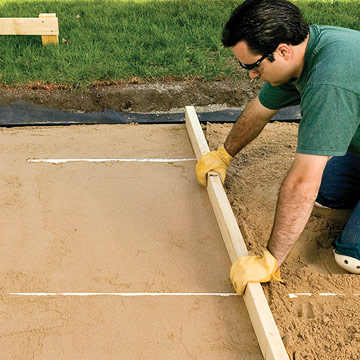
Add 2” layer of sand, this will provide the final resting place for the paving stones, thus providing an even settled surface on which to work with. Screed the sand and once this is complete, you are ready to start placing your first paving blocks.
STEP 6
Draw out a Chalk Line and Place Pavers
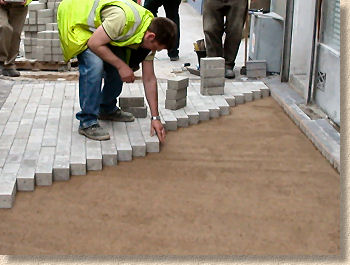
Once everything is right for the pavers to put in place, snap chalk lines along the edges of the patio to ensure the pavers stay straight. In order to get a good system of laying out the pavers and give them a nice framed feel, it is good practice to place the outer row perpendicular to the inner rows. The first few rows might take time but once you get used to them, you will start to see your patio take shape. Use a rubber mallet to tap down the pavers firmly once in place.
STEP 7
Finishing Touches – Cut Odd Pieces
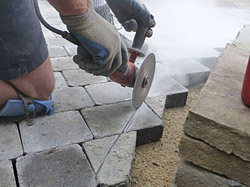
When you have pavers that need to be cut to fit certain places or spaces, just determine the point where the paver should be broken, place the chisel on the designated spot. Then simply strike the top of the chisel with a hammer to split the paver. If you have numerous pavers this maybe a time-consuming process so to speed up the procedure, then use a wet saw to quickly cut through the pavers.
Then brush in paving sand between the paving slabs to bind them together or else point them with cement based mortar.
Here in McMahons, we are excited to be able to stock premium paving stock from Barleystone Paving, we supply everything from flags, cobble paving to garden walls. Call into to one of our 11 stores to see our Paving Display and allow us to cater for all your paving needs. We offer competitive pricing for all your garden and landscaping projects. No job is too big or too small. We offer a great range of paving products and tools that can be ordered if required with a general lead time of 4 - 5 days.
Check out our latest Tips and Advice information on using garden sleepers to enhance your garden.
Check out our Tips and Advice information on your garden fence maintenance.
Check out our Tips and Advice information on the different shower types we offer.


